


Mac Solutions -
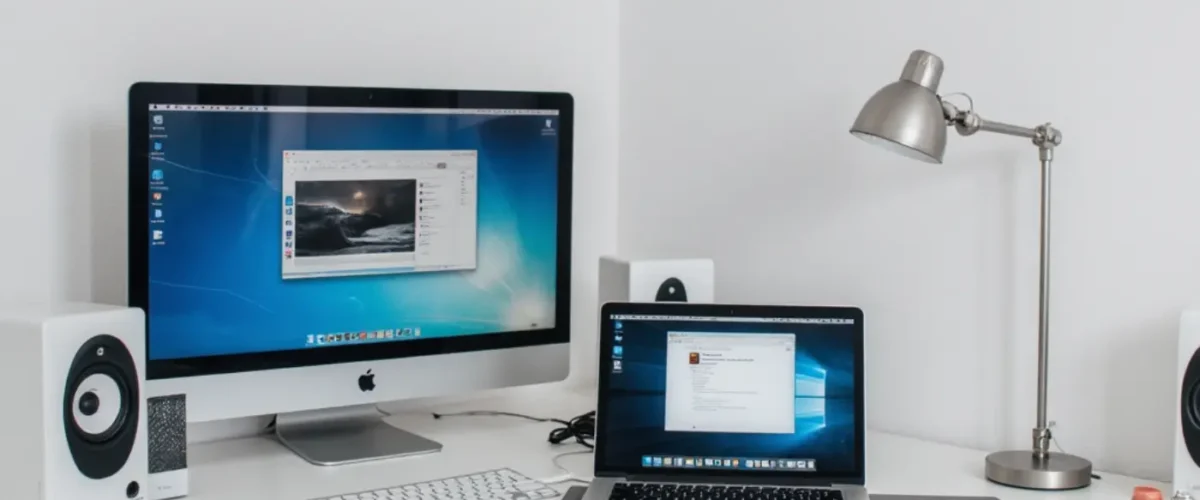
As an external monitor are very useful when it comes to extending our MacBook Pro display, and creating a wider and more visual space for applications.
MacBook Pro Solution
In MacBook Laptop External Monitor not Connecting
In this article, you will find the best and most efficient Step By step methods to deal with Mac external display not working issues, as well as a bonus tip on how to recover lost, data from your MacBook Laptop
External Monitor Not Working on MacBook Pro - Fix It.
Although pairing external monitors with MacBook Pro Laptops and Desktops comes with a lot of benefits, But some time they don’t always synchronize perfectly. So, In this cases, users may experience difficulties with detect the external monitor even after reboot Mac Laptop Or Desktop. In this article, you will find step by step guide.
PRO TECH Pick
Tech Experts Guide
1. Restart MacBook Pro
After connected all cables are securely and correctly But even your MacBook Pro still won’t detect external monitor, Then easy option is restart your Mac computer Restarting a computer may seem, it is the old troubleshooting method Do not unplug the cable of MacBook laptop external monitor before restarting it.

2. Check cable connection of External Monitor
After restarting the Mac computer does not resolve the problem, then you should check the cables connection to MacBook Pro Laptop and External Monitor First disconnect external monitor’s adapter for at least twenty seconds and then reconnect it. Till the problem not resolved then you have to disconnect Monitor power adapter, Shutdown Mac After done all the process step by step then check it In most cases it has been resolved successfully
3. Check Mac and Monitor wired Connection
A slightly loose cable connection can cause a computer not to recognize an attached display, check to see if MacBook and monitor cables are securely connected even though it looks connected. It is always worth detaching the adapter and cable then firmly putting them back in whenever there’s a problem with an external Monitor.
4. Try mac on direct adapter Power
In this situation where the Mac computer completely relies on its internal battery for power, chances are the power left in the internal battery and it may not be enough to transmit pixels to the external monitor. So in this case, Try plugging power adapter to MacBook Pro and Check it.

5. Check if Mac OS is Updated Version
If not updated the MacBook OS to the latest version, then you could be experiencing a problem that has already been addressed But it can be fix on latest Mac OS update Version Check to see if Mac OS current version is up to date.
6. Take a Quick Power Nap
It is almost the same as turning off your Mac Laptop or desktop After done this powering it back on to press the power button. Taking a quick power nap it may be able to done the connection between the Mac and the external monitor.
Step – Mac’s menu bar and then click on the Apple icon.- Click on “Sleep” – by pressing any key to powering the Mac Laptop
7. Remove All Adapters connected to Mac and Monitor
Chaining multiple adapters together isn’t the good idea especially with an incompatible external display. Having a multiple of adapters such as an HDM to DVI A DVI to Mini DisplayPort adapter may do more harm than good. Instead, of these do the end to end connection is the best and simple way to run the function smoothly

8. Check Mac Display Settings
The Mac display settings can also cause the “Mac external display not working” Problem. Make sure the Mac’s contrast & resolution settings are not interfering with the functionality of the external monitor. Check MacBook display settings by following these steps:
Step 1: Navigate to and click on the Apple logo from the menu bar.
Step 2: Click on “System Preferences” and then “Displays”. check the setting here regards resolution etc.
9. Check and Confirm the External Monitor Compatibility
Weather there are a handful of external monitors out there in the market, not all of them are compatible with Mac computers. This is why it is importance to check the compatibility of an external monitor before purchasing it. Example 1. port like HDMI, C Type etc. Mac computer OS has help you choose the right port by opening a system report By clicking on the Apple icon from the menu bar, clicking on “About This Mac” and then “System Report”.
10. First go for Monitor to Test
It might be a total waste of time to try adjusting your Mac’s settings to fix a bug Rather than. If you can afford a second external display system, go for it, or if you already have a spare, try connecting it to your computer and see if it works. If it does, then this means the other Monitor is faulty
11. Reset NVRAM Step By Step
The NVRAM (non-volatile random-access memory) stores the settings your macOS may need to access quickly, and some display-related settings are also among them. A technical issues may shows if these settings are corrupted, and this setting is the NVRAM If factory reset may get rid of external monitor display problems. It would be great to know that resetting your NVRAM will reset your Mac’s settings & its preferences, It may require reapplying them after resetting the NVRAM. Reset the NVRAM step by step guide
Step 1: Turn off your Mac PC. and then immediately press and hold the following keys on your keyboard; “Option + Command + P + R”. Hold these keys at a times together and only release them when your Mac computer restarts.
Step 2: For users with M1 Mac PCs, during startup, Mac Laptop Or Desktop automatically checks if a reset is required. This is because they do not have shortcut keys to reset the NVRAM. To enforce this check, turn off your Mac PC or Laptop , and then after a few seconds, turn it on.
12. Mac Auto Detect Displays Feature
The Mac Detect Displays feature can be used to force a connection between Mac computer and the external monitor when the macOS does not automatically recognize the monitor connection. Then can make use of this feature by following the steps below.
Step 1: Navigate to and click on the Apple logo from the menu bar.
Step 2: Click on “System Preference” and then “Displays”.
Step 3: On your keyboard, press and hold on to the “Option” key to display the “Detect Displays” button.
Step 4: Choose “Detect Displays” to check if the external display is compatible with your system.
Bonus Tip: How to Recover Lost/Deleted Data from Mac Computer or Devices
The easiest, and fastest way to recover lost, deleted, damaged, or corrupted data from Mac PC OR other Mac devices is with the use of third-party Application Although other methods that involve in-built recovery solutions are quite effective, third-party Application is the easiest way to recover lost data in just three steps. Recommended software for a data recovery process on Mac is 4DDiG Mac Data Recovery Application. This Application is use for:
- Completely recover lost data from Mac computers and other Mac devices as well including cameras, SD cards, USB flash drives, and others.
- It also supports a variety of macOS versions such as M1 Max, M1 Pro, M1, Ventura
- It has a high success rate and is high capable of recovering lost data on Mac.
- It is easy to use as it requires only three clicks to completely recover the lost data even without disabling SIP.
- it is a fast scanning process.
Download Data Recovery Application Free For Mac Devices 4DDiG | For Windows Devices 4DDiG